Showing posts with label raw. Show all posts

Tuesday, July 3, 2012

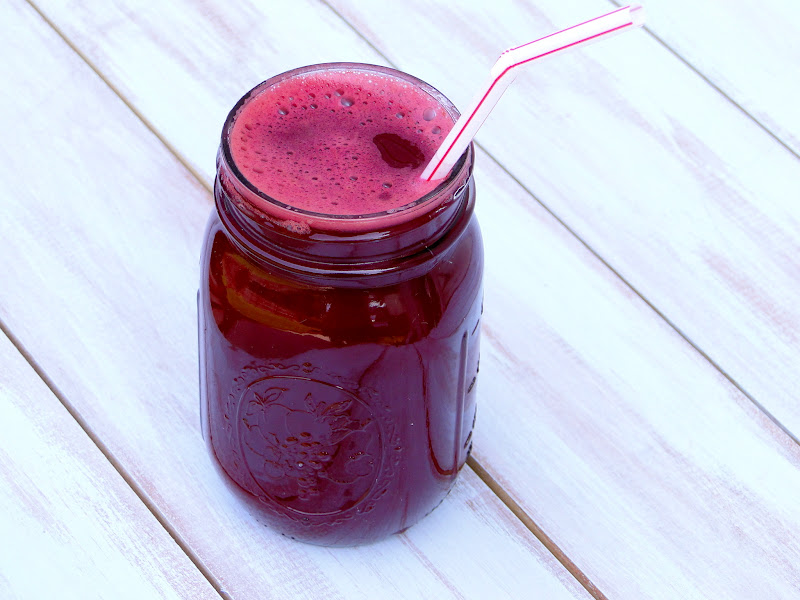
Orange Peach Carrot Juice

I'm back with another juice recipe! This one comes in a close second to the beet juice I previously blogged about, and it is my husband's favorite so far. This orange peach carrot juice has a beautiful orange hue to it, almost like an orange creamsicle.
Once again, you start with simple, fresh ingredients, blend them, strain them, and sip all the delicious vitamins and nutrients through a straw.
Orange Peach Carrot Juice
Makes 2 servings (about 4 cups)

Ingredients:
2 peeled oranges
2 peaches, quartered, seeds removed
4-5 medium carrots, halved
Juice from one lemon
1/2 inch ginger
2 cups water

Directions:
Place all ingredients in the Vitamix (or other high-speed blender), blend on full speed 1-2 minutes. Strain through a nut milk bag, into a large bowl. Squeeze to release all excess juices. Serve in a chilled glass and enjoy!
I love having fresh juice for breakfast. I especially love having fresh juice for breakfast when it's already made for me, because the second serving is waiting in a mason jar, from yesterday!

Thursday, June 28, 2012

Beet Carrot Apple Juice

Recently I've been making fresh juices, using my Vitamix. I know it's not quite the same as drinking juice from a juicer, but I am making due with what I have, and I have to say it's been pretty tasty! I've made about 5 different concoctions so far, and this Beet Carrot Apple Juice has been by far my favorite.
Basically you start with these simple, fresh ingredients...
Blend them in the Vitamix, strain them through a nut milk bag, and your juice is ready! Here is the process in a nutshell.
Since I am using a Vitamix, not a juicer, I need to add some water too, which is fine, because that equals more juice for me to drink (and it doesn't taste too watered down to me at all)! This recipe makes two servings, so I save one for later, in a canning jar in the fridge.
I like to drink the freshly made one in a chilled glass with a few ice cubes- I prefer my juice ice-cold! This process definitely takes some time, and has a good amount of clean-up involved, but it helps that it makes TWO servings, not just one.

I had a little helper who came out back to watch me shoot photos... but she soon found a "comfy" bed to lay on and heat up in (aka, our grill cover that had blown off). I don't know how she could stand it- it was already at least 80 degrees outside.
Beet Carrot Apple Juice
Makes 2 servings (about 4 cups)

Ingredients:
2 beets, peeled and quartered
2 apples, quartered and cored
4 carrots, halved
Juice from one lemon
1/2 inch of ginger (or more, if you prefer)
2 cups water

Directions:
Place all ingredients in the Vitamix, blend on full speed 1-2 minutes. Strain through a nut milk bag, into a large bowl. Squeeze to release all excess juices. Serve in a chilled glass and enjoy!

Note: If you do not have a high-powered blender, like a Vitamix, I am not sure how well these ingredients would blend up, to make a juice. Please let me know if you try!
I plan on making lots more fresh juices throughout the summer- and will hopefully be back to share a few more favorite combinations!

Saturday, February 25, 2012

Green Spiced Smoothie

Since the beginning of the new year I have been into making green smoothies for breakfast. It's the perfect breakfast option for me because it is packed full of nutrients and I can take it to-go! This is my newest creation that I am actually currently enjoying as I type this.
If you don't have a high powered blender (I was lucky enough to get a Vitamix recently and LOVE it), I would suggest replacing the kale with spinach. The kale is much more fibrous and harder to break down- which may result in the kale not completely blending in your smoothie. Or maybe that doesn't bother you- in that case, go for it!

Green Spiced Smoothie
Serves 2
(Print Recipe)

Ingredients
2 cups kale, stems removed (if you use spinach, no need to remove stems)
1 cup almond milk
3/4 cup filtered water, or additional almond milk if you prefer
2 sliced and frozen bananas
1 thin slice fresh ginger (I throw it in the blender un-peeled. You could also grate it first, enough to equal about 1/2 teaspoon, or more if you like it with a kick!)
1/2 teaspoon vanilla
1/4 teaspoon cinnamon
2 pinches each of ground cardamom, cloves, and nutmeg
dash freshly ground pepper
6 ice cubes

Put everything in the blender and blend until smooth.
It's just like a chai flavored smoothie, but green! Try it, and adjust the spices to your taste.

Here are a few bird pictures my husband recently took of birds in our backyard. At any given time, if we look outside, there are birds on our fence, feeder, tree, and grass. All just hanging out or eating.
Three birds crammed onto one feeder.
Even a woodpecker!
We haven't had any snow yet this year. I always love the contrast of the birds against freshly fallen snow. Oh well, spring is on it's way, and I'm not complaining!

Friday, August 5, 2011

Homemade Milk and Cookies

Today is rainy and dreary. I am actually kind of loving it. We haven't had this kind of weather in so long, it is a nice change. I feel like I have an excuse to spend a lazy day inside, blogging, reading, watching movies, and staying in my yoga pants. I always love a good excuse to stay in yoga pants. Nate is not a fan- but I made it up to him by making almond milk and chocolate chip cookies to enjoy on this lazy day.
The only thing I am not loving about this rainy day, is the terrible lighting for my pictures. So I apologize for the dark shadowy images I may post (although they did start to come out better after some strategizing and light reflecting). Nate heard me grumbling about this as I was shooting in the kitchen... muttering to myself about the different equipment I need to buy so I can take a well-lit picture on a poorly-lit day. Sorry, Nate. Just a preview for the long dark winter ahead of us.

Back to the milk...
and cookies!
This was my first experience making almond milk and I have to say, it is WAY TOO EASY. How have I not done this until now? I did use the Vitamix for it, but I read that a regular blender will work too (which I was not aware of until yesterday).

Almond Milk

Ingredients
1 cup almonds
4 cups of water
Dash of salt

Directions
Soak almonds in about 2 cups of water for 8-12 hours. Put the almonds along with 4 cups of water total (the soaking water can be used toward the 4 cups) and salt in a blender. Blend for about 1-2 minutes. You can use the almond milk just like this, but for a smooth texture, strain the milk through cheese cloth. This takes awhile, so secure the cheese cloth with a rubber band, around the container you are straining it into. Then you will have your freshly made, pure almond milk!

Note: This almond milk will separate in the fridge so give it a quick shake and then it will be ready to drink!

If you prefer sweetened almond milk, add a few dates to the mixture (2-6, depending on your desired sweetness). You can also add the scrapings of one vanilla bean or a teaspoon of vanilla extract, for vanilla almond milk. For step-by-step pictures of making almond milk, look here. There are also other variations of almond milk recipes on the same page.

Then enjoy, with a fresh batch of cookies!
The cookies I made are from the new Peas and Thank You cookbook! These cookies have half the amount of sugar and butter compared to most chocolate chip cookies I have made, so I was a little leery of how they might turn out. I have to say, they certainly did not disappoint! I love that they still taste like a cookie (a light, somewhat fluffy cookie) but they are much better for you than a traditional chocolate chip cookie.

If you are not a Peas and Thank You blog reader yet, her blog is quite entertaining... funny, witty, and full of cute stories and yummy recipes. Her cookbook is the same way- Every recipe comes with a story, which is a nice change from your everyday cookbook. I have had her cookbook for 2 days now and have read almost all the stories that go along with the recipes. She cracks me up... as Nate and Lilly are both well-aware. Sorry, Nate and Lilly.

One more "sorry Nate" for today. Here is a picture of him pointing at the crazy lightning storm we were having. I think he was scared that he was going to get hit by it. So he came inside and I gave him a cookie.

Sunday, July 17, 2011

Six-Shades-of-Red Soup

The making of this soup recipe couldn't have come at a better time. I had planned on making it because I happened to have all the ingredients in my pantry & fridge and some of them had to be used up soon, before they went bad. The day I had planned it for actually ended up being cloudy, dreary, and unseasonably cool- perfect for soup! Not to worry though, our summer heat is already coming back today and it will continue to get hotter every day throughout the week!
I can't take any credit for this recipe what-so-ever. I got it from Color Me Vegan and made very minimal adjustments. It is great just as it is! I did use some purple potatoes and I added a parsnip because I had it, I'm sure other veggie additions would be good too. I also changed the onion cooking instructions (the original recipe called for boiling it, but I am so used to sauteing onions for a soup base, that that's what I ended up doing)

Six-Shades-of-Red Soup
(Print Recipe)
Slightly adapted, from Color Me Vegan

Ingredients
1 red onion, diced
1 tablespoon oil
2 cloves garlic
10 cups water
2 cups red lentils
3 red (or purple) potatoes, unpeeled and chopped
2 red beets, peeled and diced
2 carrots, finely chopped
1 parsnip, finely chopped (optional)
1/2 teaspoon crushed red pepper flakes
1 tablespoon finely chopped dill
1/4 to 1/2 cup red miso paste, depending on how strong it is (I used 1/4 cup)
1/2 cup vegetable juice (I used vegetable broth)
1 teaspoon salt
pepper, to taste

Directions
In a large soup pot saute the onions in the oil, over medium heat, until opaque (5-7 minutes). Add the garlic and saute one more minute. Add the water, lentils, potatoes, beets, carrots, parsnip, red pepper flakes, and dill. Cover, raise heat to high and bring to a boil. Then reduce heat and simmer for 20-25 minutes, until potatoes are fork tender.
In a small bowl thoroughly combine the miso and juice. When the soup is done, remove from heat and stir in the miso mixture. Serve and garnish with dill.

Note: Do not skip using the miso- I taste tested the soup before the miso addition and it was much better after the miso was added.

Turn this
into this (with a few more ingredients)
I also recently made Larabars. There are recipes all over the internet for these 5 ingredient (or less) bars. I put this blueberry bliss recipe on a printable page, so that I can print it off and put it in my recipe binder (nerdy... I know, I know). I thought I'd share it with you incase you wanted to do the same thing (probably not, but maybe). It was so simple to make. I found the measurements here, and doubled it. There are also a bunch of other flavor combinations on the same page! If you are interested in peanut butter and jelly bars, there is recipe here. There is also a yummy looking cherry Larabar recipe here.

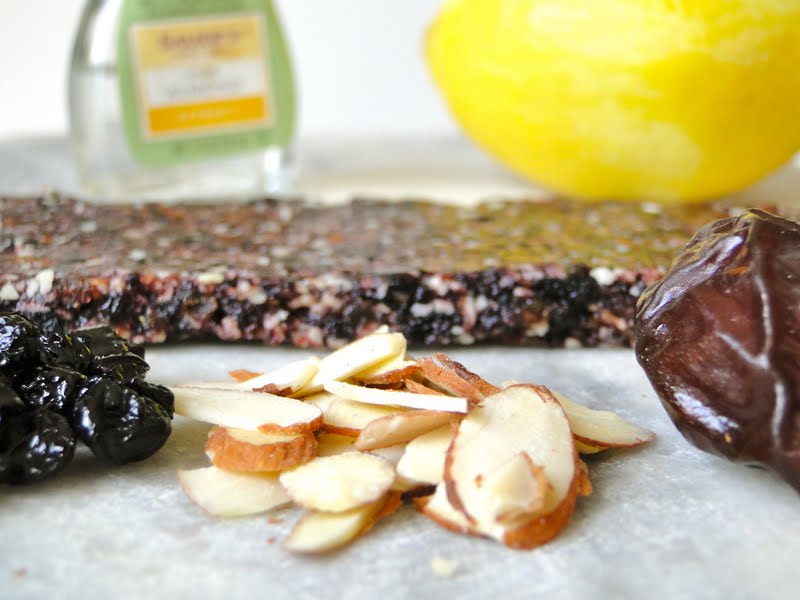
These are the 5 ingredients I used to make this yummy bar.
Almonds, Dried blueberries (I couldn't find any with no added sugar! Does anyone know where I could?), medjool dates, lemon zest, and almond extract.

Blueberry Bliss Bars
(Print Recipe)

Ingredients
1/2 cup dried blueberries
1/2 cup roughly chopped medjool dates
2/3 cup almonds
1/2 teaspoon lemon zest
a few drops of almond extract (I think they would still be yummy without this, if you don't have it)

Directions
Put the blueberries, dates, lemon zest, and almond extract in a food processor and process until it becomes like a paste. Transfer to a medium bowl. Put the almonds in the food processor and process until finely chopped. Add to the date mixture. Use your fingers to knead the date mixture and almonds together. Roll out into a rectangle and cut into 4 or 5 bars. Wrap in plastic wrap and store in fridge.

Easy!!
And no added... anything that's bad for you!
Nate and I have been excited about our tomatoes ripening in the garden. Soon we will have a plethora of fresh tomatoes. I went outside today and first saw this.
Then, much to my surprise, saw this!!
A green horned caterpillar!
They eat tomato plants! He blends in quite well with the plant, in fact, I almost touched him before I realized he was there. Neither Nate or I wanted to kill him, so he is now far down a hill, past our fence.
I read that they can be over three inches long. I think this one was pretty close!
I hope there aren't more where he came from. We will have to keep our eyes out for them! I need to start figuring out what I am going to do with all our tomatoes, because they are all going to be ripe at the same time, I just know it. Marinara sauce, tomato soup, lots of salads. Does anyone have any other ideas?

Sunday, July 10, 2011

Short & Sweet!

Today's theme is short and sweet, but I must share this recipe. It is fabulous!
Vanilla Chai Shake
(Print Recipe)

Ingredients
1 sliced, frozen banana
3/4 cup almond milk (use a little less for an even thicker shake)
1/2 teaspoon vanilla extract
1/3 teaspoon fresh grated ginger
1/4 teaspoon cinnamon
1 pinch each of ground cardamom, cloves, and nutmeg
dash freshly ground pepper

Directions
Put all ingredients in a blender and blend until smooth. Garnish with a sprinkle of cinnamon.
Note: as my husband pointed out, this is kind of like a mini shake... double the recipe for a medium size one!

I researched what the most common spices were in chai and combined all of them in this recipe. It is such a great way to enjoy a milkshake... and now I want another one!

Wednesday, July 6, 2011

Peach Raspberry Popsicles

Talk about a breakfast that shouts SUMMER!!
What better to accompany fresh peaches and raspberries, than a peach raspberry popsicle! These peaches are the sweetest juiciest peaches ever- we bought two of them at the farmer's market and as soon as we tried a bite, went back for a whole bag of them.
I have had popsicle molds in my cabinet forever and don't even remember the last time I used them. I was intrigued by an all fruit popsicle at the farmer's market yesterday and decided to buy it. It was so fruity and natural tasting that I immediately decided to make them myself when I got home. The flavor I tried at the market was nectarine cherry- also a fantastic combo! My popsicle molds are small so it only took 3 peaches to make 6 popsicles.

My method was quite simple: Put 3 sliced peaches in the food processor, add a little sweetener if desired- I added 2 teaspoons of Truvia, food process until smooth. Pour the peach puree into popsicle molds, along with some fresh halved raspberries. Freeze, eat, love.
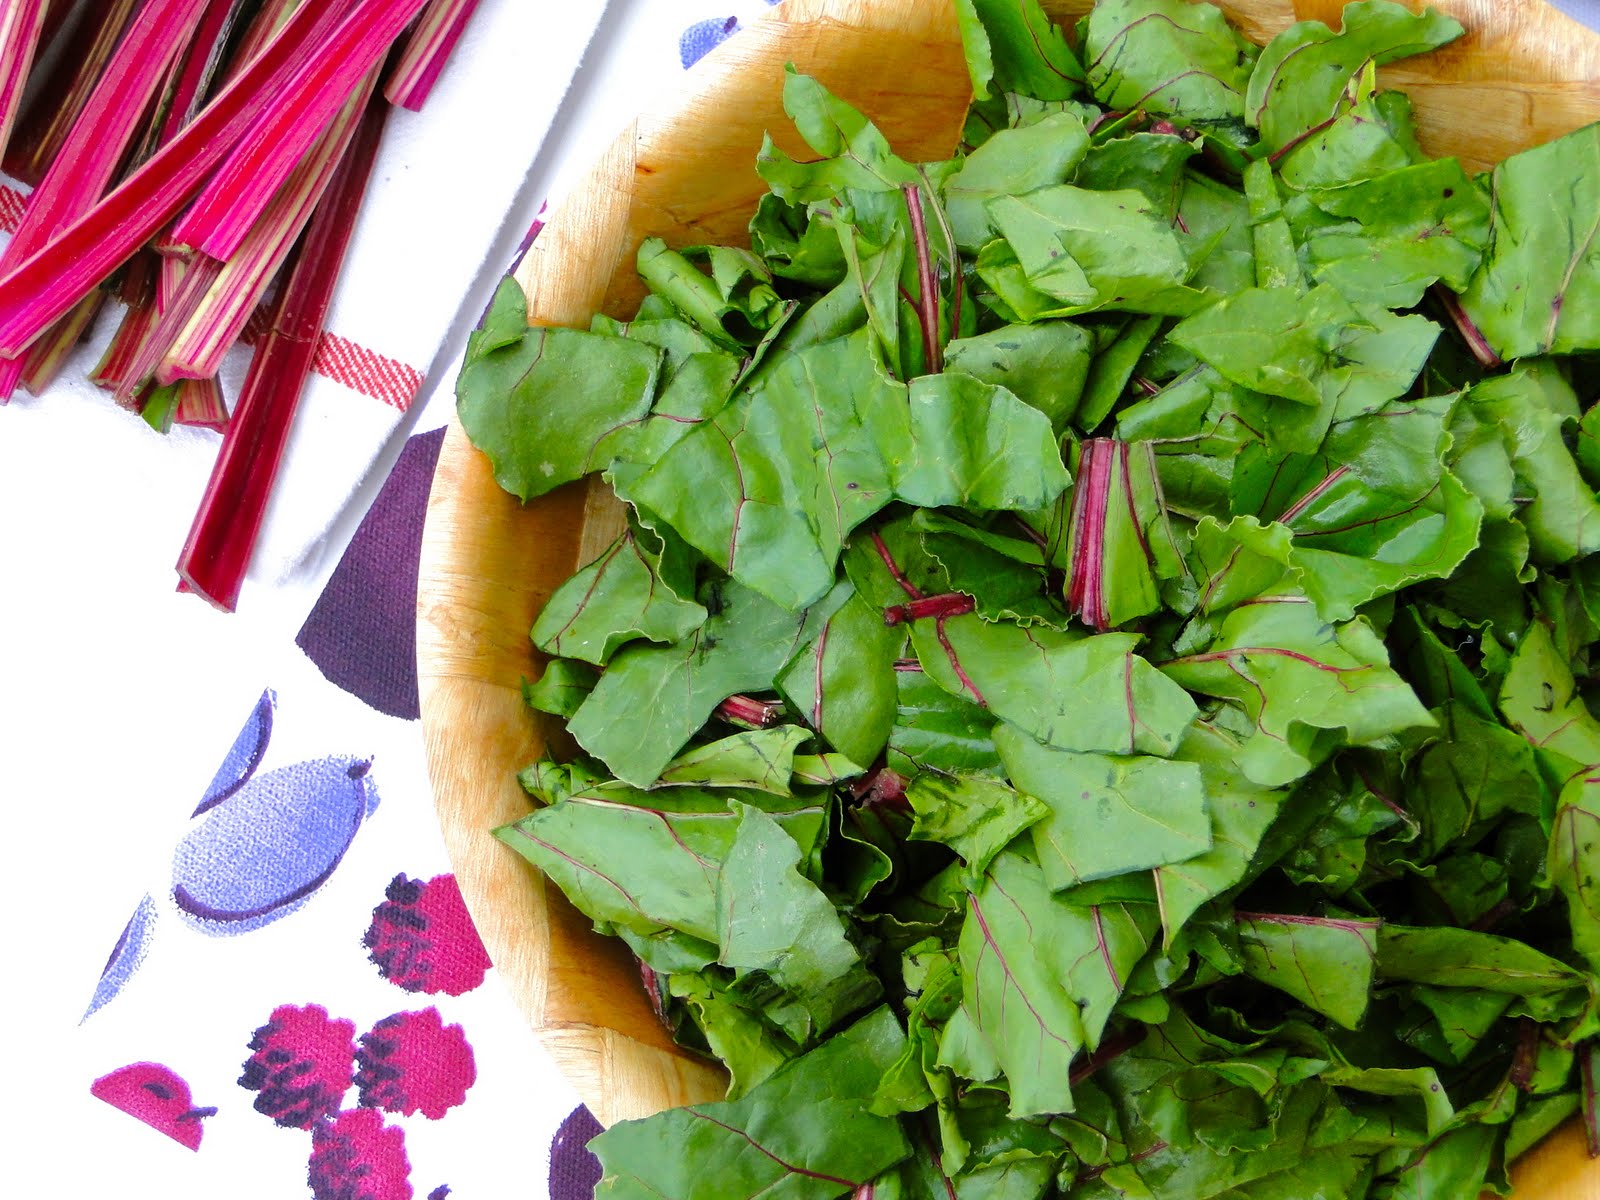
Today my lunch was the same as dinner last night, but with red beets this time and a side of sauteed beet greens with sauteed summer squash and zucchini. To saute beet greens simply blanch them in boiling water for two minutes, cool off in an ice bath, squeeze out excess water, chop them, and saute in a little olive oil and minced garlic. I skipped the blanching step and my greens were more bitter than usual. Lesson learned. I won't skip that step next time.
I loved all the pretty colors!
All these beet greens...
Sauteed down to this.
Luckily I had some squash too!
Today's cooking outcome: Yummy lunch!
And refreshing fruit!
I'd call it a success.

Saturday, July 2, 2011

Firecracker Cookie Dough Pops

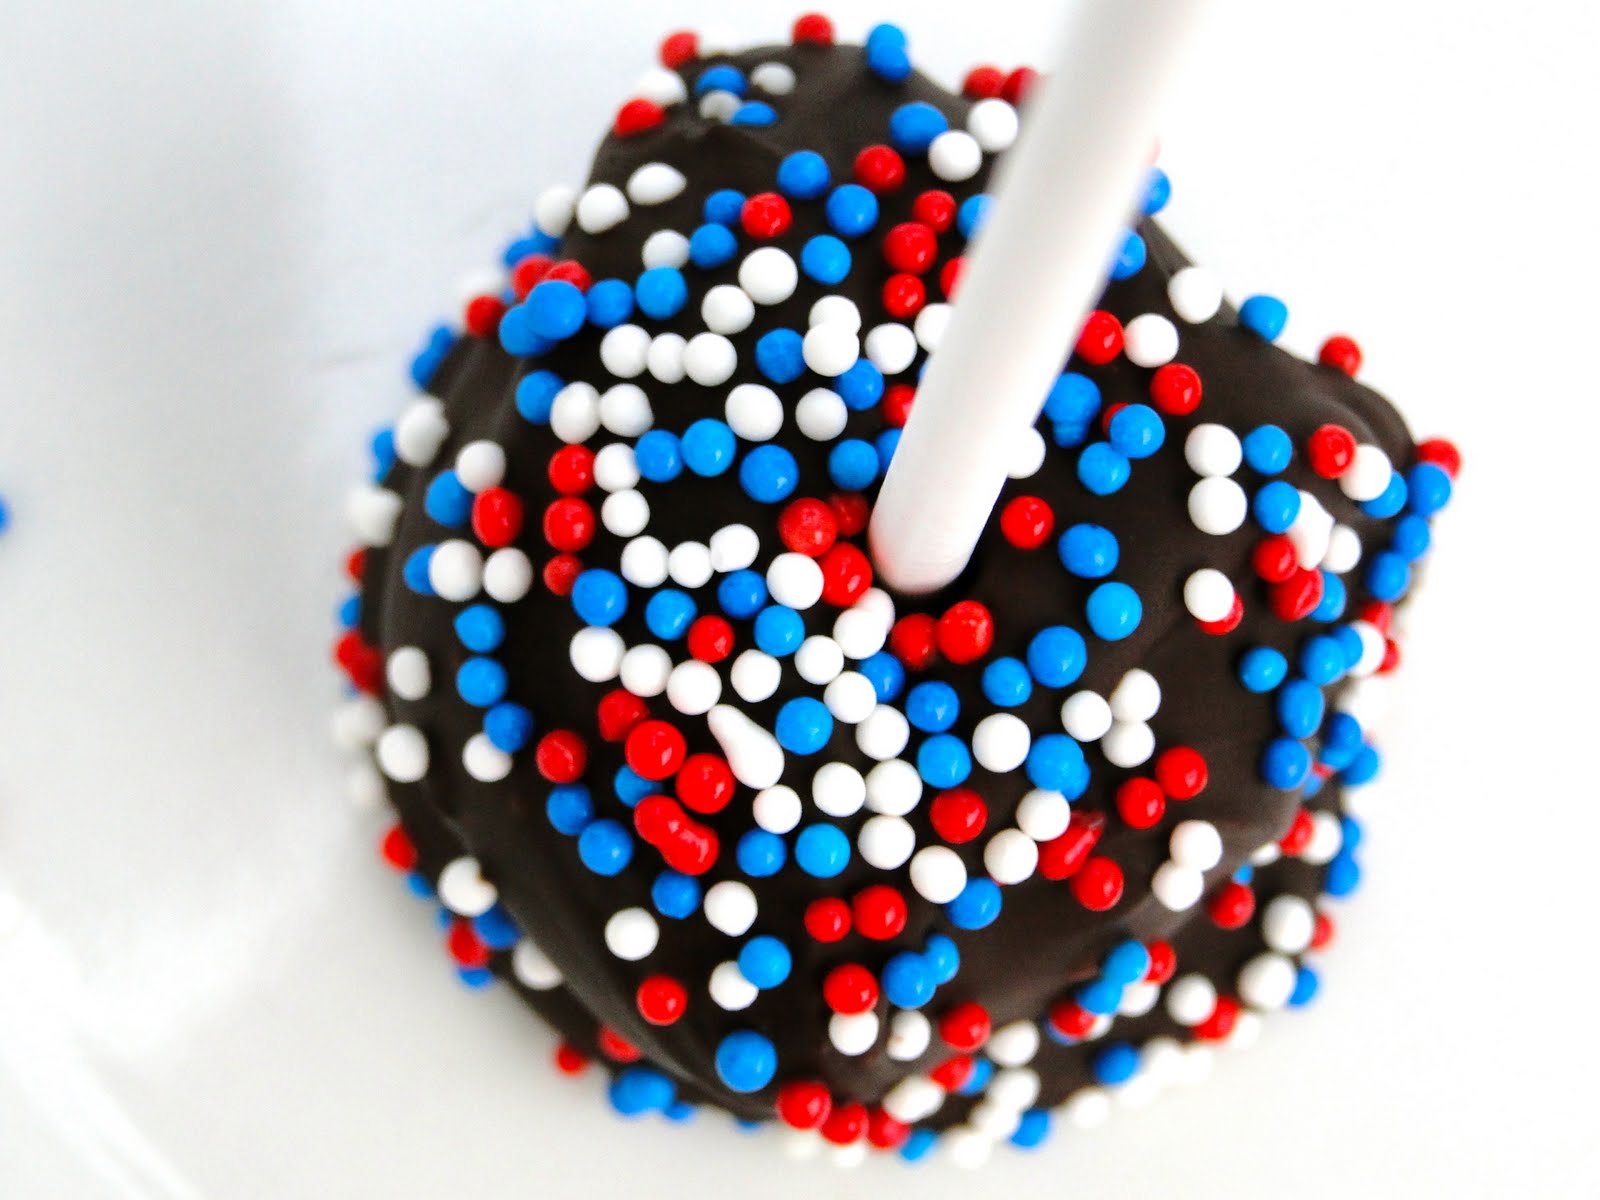
First, a photo that explains the title of today's post.
Would you believe me if I said it was healthy? Well, it's not a slice of watermelon or a fresh crisp apple, but considering what it is, it could be much worse for you. All most of the ingredients are whole and natural. We will get back to that in a minute.

Here are some photos from my walk today. This was the first picture I snapped.
Pink and green.
Pink and green reflection.
Crazy hot sun... can you see the plane?
This tree was COVERED in bees!
I'm not sure what these are, they were growing in clumps on a tree.
Can you tell it was hot?
We went back to the car and had lots of water! And took one last picture of this cute little guy.
Then we came home and made these!
I have at least 6 recipes for raw cookie dough balls. I couldn't decide which one to make, so I read the recipes, got the general idea, and came up with my own concoction. Then I dipped them in chocolate and sprinkled red, white and blue nonpareils on them. Then froze them, and drooled as I took these pictures.
I started out by dipping the entire cookie dough ball in chocolate but then decided I liked the idea of only dipping half of it. When you make these choose whichever way suits your taste!
Firecracker Cookie Dough Pops

Ingredients:
2/3 cup cashews
1/2 cup oats
2 tablespoons shredded coconut
1/4 teaspoon salt
5 pitted medjool dates, chopped
1 tsp vanilla extract
1 tablespoon plus 2 teaspoons maple syrup
2 tbsp dark chocolate, chopped
1/2 cup dark chocolate, melted, for dipping
1 tablespoon coconut oil

Directions
Line a baking sheet with parchment paper. In a food processor, process the cashews and oats until a fine crumble. Then add the coconut, salt, and roughly chopped pitted medjool dates. Process until fine.

Add in the vanilla and maple syrup and process until the mixture comes together in a ball.

Transfer to a large bowl and stir in the 2 tablespoons of chopped dark chocolate. Roll into balls and stick with toothpicks.

In a double boiler or in the microwave, melt 1/2 cup of dark chocolate with the coconut oil in a small bowl. Be careful not to burn. Then roll each ball into the chocolate and place on parchment paper lined baking sheet. Sprinkle with nonpareils. Replace toothpicks with lollypop sticks, if desired. Freeze until chocolate has set, then transfer to refrigerator until ready to serve.

They are delicious without dipping them in chocolate too!
But this gives them an extra POP for the fourth of July!
Happy Fourth!!